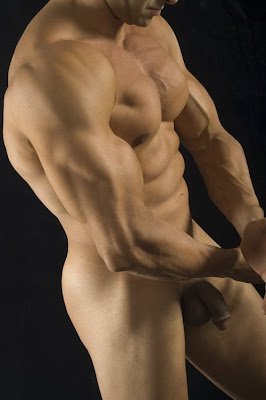
This weekend I have been experimenting with HDR photography. If you are interested in looking at other HDR images, there are dozens of sites that feature them. This one http://www.smashingmagazine.com/2008/03/10/35-fantastic-hdr-pictures/ provides some excellent examples. It also provides links to other sites that explain what HDR images are and how to create HDR images using Photoshop.
In layman's terms an HDR image is a merger of two or more separate photographs of the same subject, usually taken with a tripod. They work best when photographing objects that do not move, such as buildings. The separate images are shot with different exposures. For example you might shoot one lighter than normal, one normal and one darker than normal. Merging three such images together allows one to create an image with detail in the shadows and highlights as well as the mid range.
By way of illustration, if you have ever taken a picture of a room inside a house on a sunny day, you realize that you can either expose for the daylight scene outside the window, in which case the room is dark, or you can expose for the room, in which case the scene outside the window is almost completely white. This is because film and digital sensors have a limited range of perception. The human eye can perceive both the inside and the outside, but the equipment we use cannot.
Photoshop will merge two, three, four, or more images of different exposures to produce one image that shows detail in the highlights as well as the shadows.
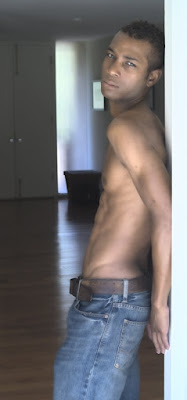
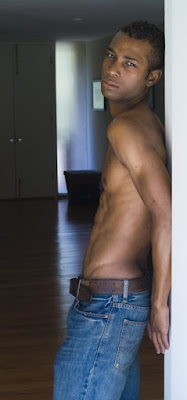
In the case of the image in my blog today, I cheated a little. I shot the image in camera raw. Then I created three copies of the raw image and took advantage of capabilities of raw files to alter the exposures after the fact, so that one was light, one was dark and one was normal. Then I merged the three raw images into one HDR image. You might think you could do the same thing with jpg images, but you can't really. Raw files are basically all the data captured by the camera with a sidecar data that tells your computer what exposure settings you used. Your computer applies those settings at the moment you open the file. So, with some limitations, it is as though you hadn't actually made the decision of where to set your f/stop until you open the file on the computer. Most digital SLRs allow you to shoot raw files. Most point and shoots do not.
I haven't read of anyone doing this before, although it seems like an obvious after the fact short cut. In all likelihood shooting three separate images from the get go produces superior results since the camera is more likely to capture additional detail, but people don't stand perfectly still, so cheating this way allows me to use this technique on photographs of my models when this might not be otherwise possible.
I don't usually show before/after images of my work, but in this case I am posting the original image below so you can see the HDR effect. It's sutble, but there is a smoother gradiation of tone on the model's skin in the HDR photo at the top, and a little more detail in the shadows. The unretouched HDR image from Photoshop showed much more detail in the shadows near the door in the background, but I opted to darken the shadows a little more with curves after the fact.

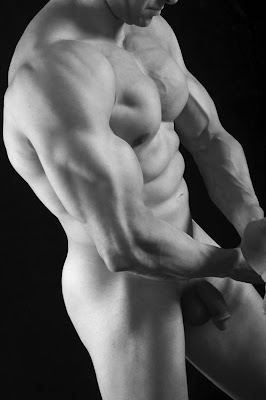 About half of my work is film, and while I don't expect black and white film to completely disappear from the market during my lifetime, lately I have been experimenting more with creating the type of black and white images I love with my digital equipment.