Saturday, January 26, 2008
Off Broadway
This is another "back catalog" photo that I scanned recently for my book submission.
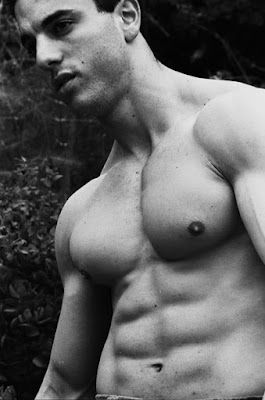
Bryan was a New York model I shot at the tail end of a business trip several years ago. A photographer friend in New York found a studio a few blocks west of Broadway for me to rent for the shoot.
The owner probably never intended the make-up area of his studio to be used in a shoot, but the setting drew my attention and we shot several frames with Bryan sitting in front of the mirror and on top of the make-up table.
This was also very early in my experience with lights, so although I didn't really intend it, the lights created a spot light effect instead of broad, open lighting. However it gave the scene a night-time effect that seems appropriate in some cases.
The second shot shows off Bryan's amazing chest.
Saturday, January 19, 2008
Andrei
Today I began work compiling photographs for a book proposal. I am starting with images from some of my oldest shoots and culling ones that I haven't shown before.
Sometimes it's because the image didn't grab me years ago. Sometimes it's because I just didn't spend enough time constructing a decent image from the negative.
One improves one's technique over the years. I look at raw images I photographed years ago and have a better idea now of what I need to do to create a pleasing image.
This image of Andrei is a case in point.
Andrei was a bodybuilder from the island of Malta that I photographed before I started a lot of studio work. Most of the images are shot in my backyard.
Andrei had pale, smooth skin, good muscle definition and well balanced muscle with full muscle bellies.
I like this image because the tilt of Andrei's body and the wide angle lense creates an arc from the upper left corner to the lower right corner. I also like the tight crop.
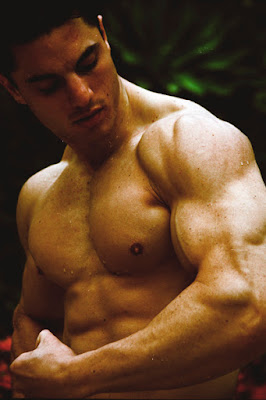
This next image is a different kind of lesson. I shot a roll of color negative film on the same shoot and the lab mistakenly cross processed it. (Meaning they processed in chemicals meant for slide film.)
Cross processing can be an interesting effect when you plan to do it, but usually one over exposes the film a stop or two, because, as you can see from this example, cross processing can make the image a lot darker.
Using Photoshop, I could probably correct most of the problems with the color image today, but I have left it pretty much as scanned to show how the processing distorted it. The only thing I did was lighten it up a little.
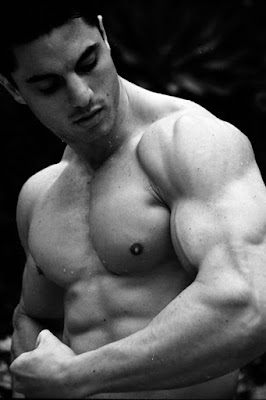
The black and white version of the image eliminates the odd colors, but it would still be a dark image if I hadn't used the Photoshop Channel Mixer dialog and chosen the "black and white with red filter" option to lighten it up and smooth out the middle grays.
Subscribe to:
Posts (Atom)
Popular Posts
-
This pose comes from direction to the model to mimic a statue of Hercules bursting free from chains. I've presented both a color and...
-
Earlier this month I posted my favorite photo of Alex in the leather chair. This is another in the series.
-
I worked with Doug Zimmerman long, long ago - first at a modeling workshop, then privately at this location in southern California (Devil...